How to make Steampunk Goggles
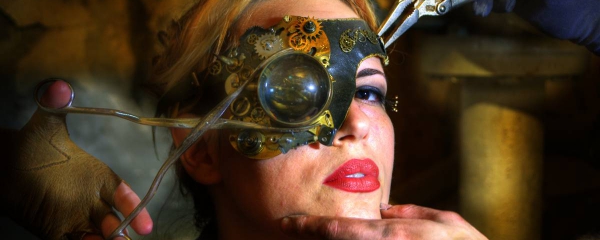

These goggles are super simple and should cost around $20 to make. Really, all that’s involved to make these is spray painting some welding goggles and adding a few embellishments and a new strap. They’re simple enough to make but still look awesome. These might be a good choice for anyone who doesn’t already own any power tools.
They are a perfect choice if you want to protect your eyes from wayward automatons, zombie claws or gas explosions.
1. First off, you will need a pair of welding goggles and you can probably buy them at your local Home Depot. Another option that is very easy and cheap, is to get them from Amazon. The only downside is that you will need to wait until goggles arrive.
2. You may also want to buy a clip-on lens thingy.
3. You will need the spray paint in silver and gold colors. Try to find the cheapest option that you can as there really is no difference.
4. You will need to take the goggles apart by separating the plastic lens part from the rubbery mask. Cover the lenses in tape and then cut the tape in the exact size of the lenses for protection. Then sprey paint the plastic.
It is very important to spray gently and lightly. If you put too much paint, the goggles will become too sticky (like a glue) and will need a week to dry off. If you go gently just to cover the plastic, it will dry within a few hours and you will be able to continue your work.
5. You will need a narrow leather belt, of the same width as the strap on the goggles.
6. Cut the belt in three parts, while making sure that the holed part and the buckle part art long enough to fit around your head when buckled together.
7. Next, you want to get your hands on some cool embellishments–be they gears, chains, keys, cool charms, whatever.
I went into my old supply of Legos (yes, I still have my Legos; don’t laugh) and found some fun critters: scorpions, octopuses, spiders, etc. I spray painted those silver and gold.
Note: I used the scorpion for the goggles, and the other critters came into play in other steampunk gear.
8. With the paint now dry, I reassembled the goggles. Be careful–the paint will stay kinda sticky for the first few hours. But by the next day, it should be completely dry and not coming off on your fingers.
9. Now it’s time to superglue on your various embellishments. I decided to go simple for the goggles, so all I added was a single scorpion right in the center.
10. Finally, I slid the leather belt into the strap holders, snapped on the lens thingy, and KAPOW!
To add a comment to the blog, you have to first join the site or login as a user

is it feasible for me to pass some links to you here? can be quite usefull
There was a lot of tinkering in my saloon.
11 years ago
Categories
Most Popular
-
Steam Tools of trade
March 17, 2015
-
Steampunk Household vol. I
February 6, 2016
-
Archive
